Difference between revisions of "Bluebeam Signature Seal and Date Stamps - BB2302"
From DelDOT CADD Wiki
| Line 173: | Line 173: | ||
<h3> 4. Date Stamp </h3> | <h3> 4. Date Stamp </h3> | ||
<div class="tab"> | <div class="tab"> | ||
Note: This section is optional and is intended for those who want a separate Date Stamp.<br> | |||
<h4> 4.1 Opening the Stamp Template Document.</h4> | <h4> 4.1 Opening the Stamp Template Document.</h4> | ||
<div class="tab"> | <div class="tab"> | ||
Revision as of 14:39, 29 June 2023
Introduction
This document will guide the trainee through the creation of custom signature, date, and seal stamps in Bluebeam Revu. These stamps are necessary for sealing, signing and dating the Construction Plan sets for the Delaware Department of Transportation as well as other documents. Please see PM-09-001 and PI D-04 for additional information.
Notice: All users will need to follow Section 1. Initial Setup, Section 6: Stamp Application, and potentially Section 7: Common Issues in order to properly and fully create the stamps. Sections 2-5 are relatively independent of one another, and the user should follow the section(s) specific to the type of stamp they need to create.
(For example: If you only need a signature stamp, you will follow Sections 1, 2, 6, and 7 but if you need to create a signature, seal, date, and combined stamp, you will follow all Sections 1-7).
Please note that certain parts of this training requires a licensed copy of Bluebeam. For internal employees, click here to request a licensed copy.
Creating Custom Signature, Seal, and Date Stamps
1. Initial Setup
1.1 Load the DelDOT Profile.
Using the DelDOT Profile ensures that your Bluebeam application window will exactly match the one used for this Wiki Guide, making it much easier to follow along with all the steps. Note that this step is optional, but is highly recommended if the user is new.
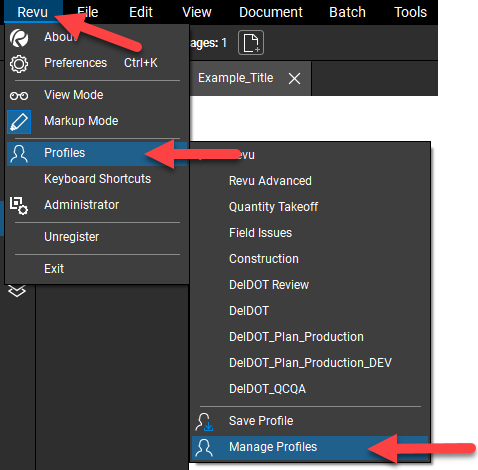
1.1.1. Navigate to the top left corner and click on Revu > Profiles. If you see the DelDOT option, select it and skip steps 1.1.2.-1.1.5.

1.1.2. If you do not see the DelDOT option, click on Revu > Profiles > Manage Profiles at the bottom of the dropdown.
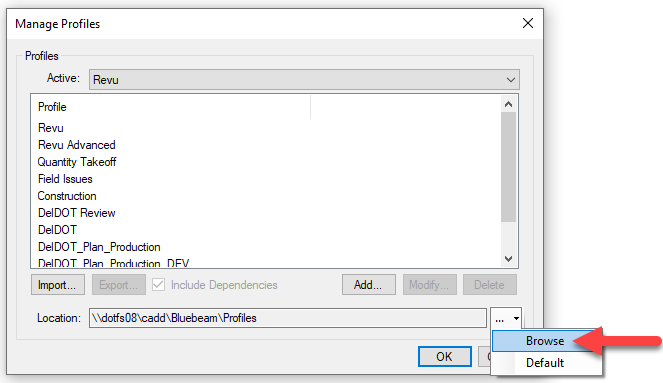
1.1.3. In the Manage Profiles dialog, select Browse from the dropdown on the bottom right.
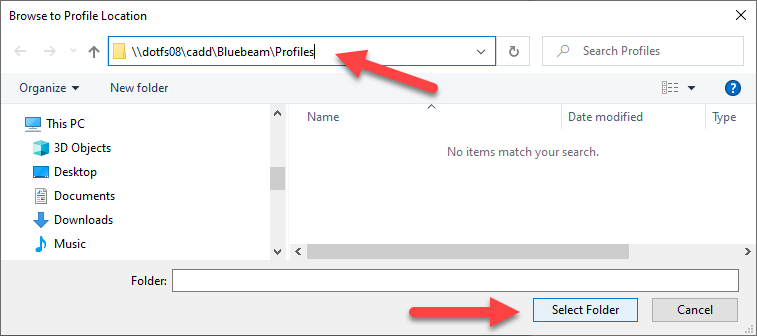
1.1.4. In the Browse to Profile Location dialog, paste the following into the address bar at the top: \\dotfs08\cadd\Bluebeam\Profiles. Hit Enter on the keyboard and then click Select Folder.
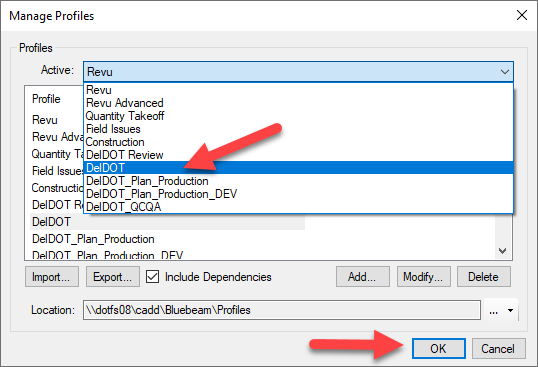
1.1.5. In the Manage Profiles window, change the active profile to DelDOT and click the OK button.
1.2 Setting up your stamp folder.
Notice: The default path for stamps should be U:\ (your Personal Drive). It is crucial that you create a personal Stamps folder on your U:\ so that others do not have access to your personal signatures/seals.
Important Note: Bluebeam considers any PDF in the selected Stamp Folder to be a "stamp" (ie. If you have a title sheet PDF in your selected Stamp Folder, it will show up as a stamp). Be careful of where you are storing your PDFs to ensure that your intended stamps can be accessed and that other PDFs are stored elsewhere.
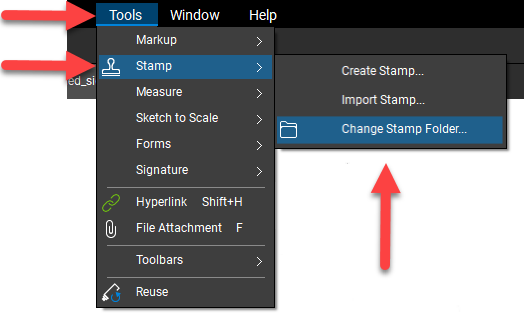
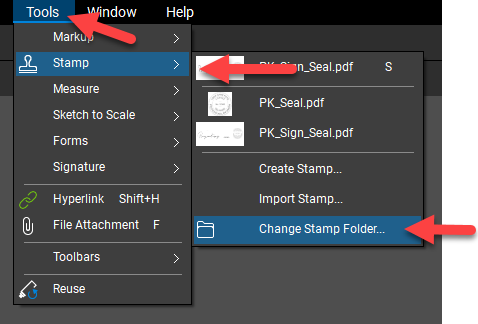
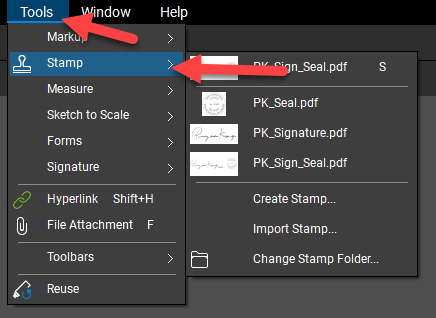
1.2.1. Navigate to the top left of the screen and select Tools > Stamp > Change Stamp Folder…
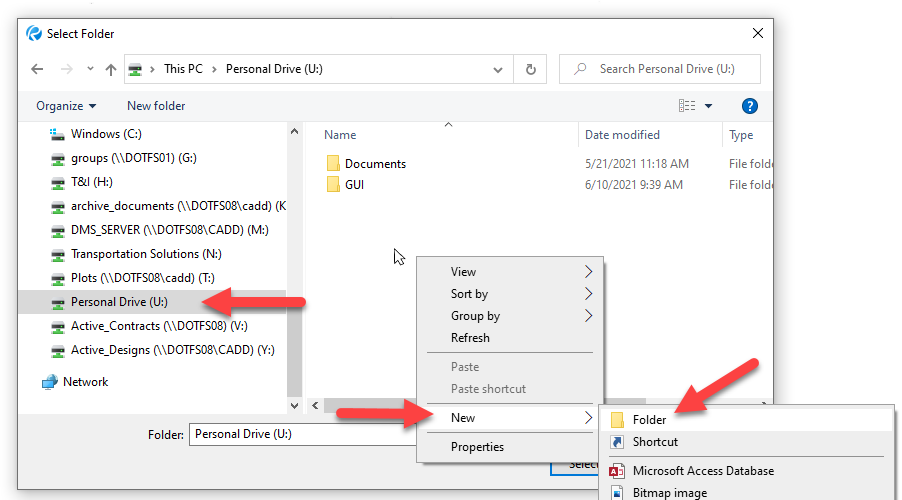
1.2.2. In the left side of the file explorer, select Personal Drive (U:). If you already have a Stamps folder, skip to step 1.2.4. If you do not already have a Stamps folder on your personal drive, right-click in the white area on the right and select New > Folder.
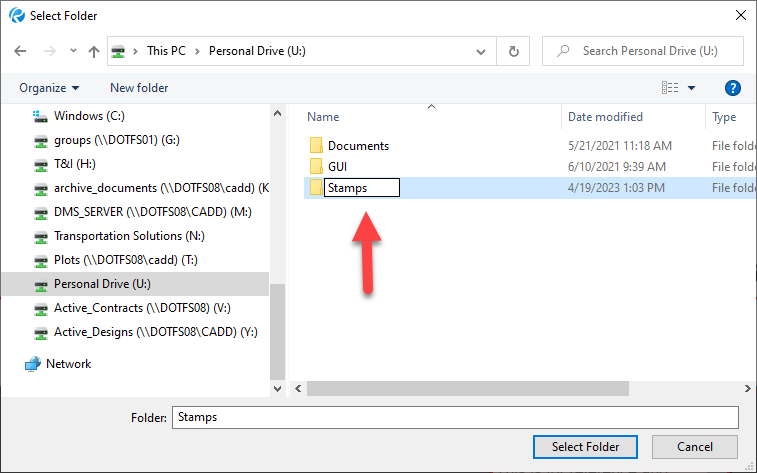
1.2.3. Name the folder appropriately (ex. “Stamps”), and hit the Enter key.
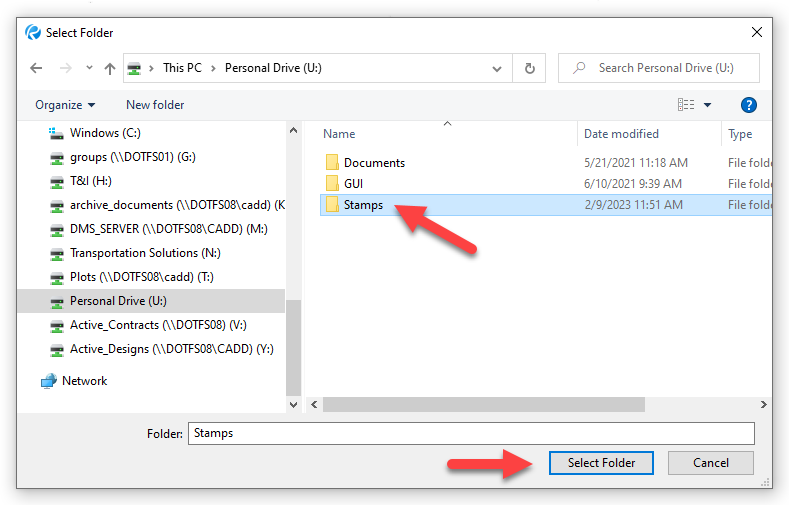
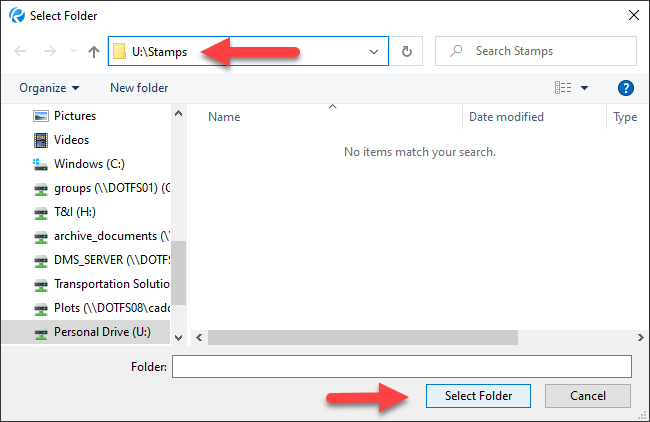
1.2.4. Select the Stamps folder and hit the Select Folder button at the bottom right of the file explorer.
2. Signature Stamps
2.1 Scanning your signature.
2.1.1. Sign a piece of white paper clearly and carefully.
Note: If you plan to also create a seal stamp, you can go ahead and stamp it on the paper now in preparation for Section 3.
!
You can sign the same paper multiple times until you are satisfied with your signature, just be sure to leave sufficient blank space around the signature so that it can be snapshotted once scanned (see section 2.2.9 for a sneak peek).

2.1.2. Using a scanner, scan your signature at high resolution, ideally 600dpi, and email it to yourself as a PDF.

2.1.3. Download the PDF to your computer and name it appropriately (ex. “scanned_signature.pdf”).
2.2 Creating your digital signature.
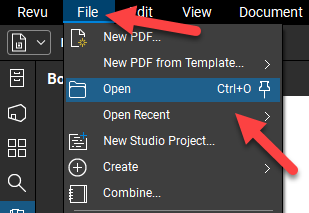
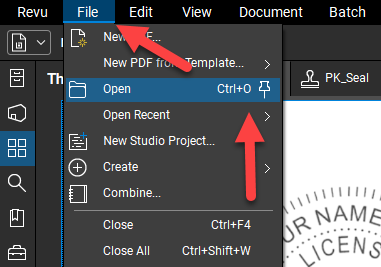
2.2.1. At the top left of the Bluebeam application, go to File > Open.
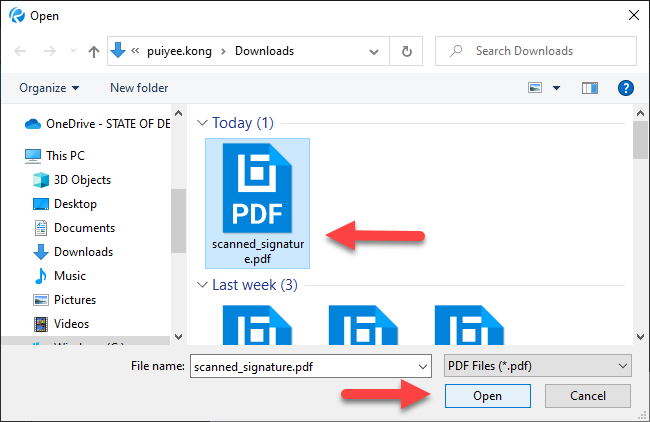
2.2.2. Select the PDF you downloaded in step 2.1.3. and hit Open.
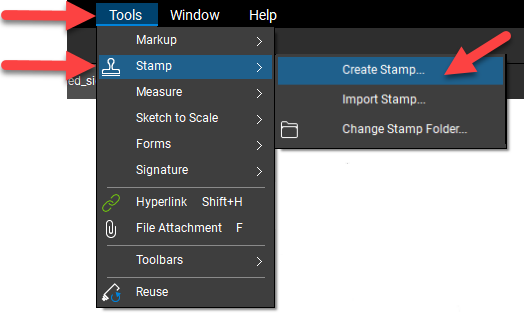
2.2.3. Navigate back to the top left of the Bluebeam application screen and select Tools > Stamp > Create Stamp….
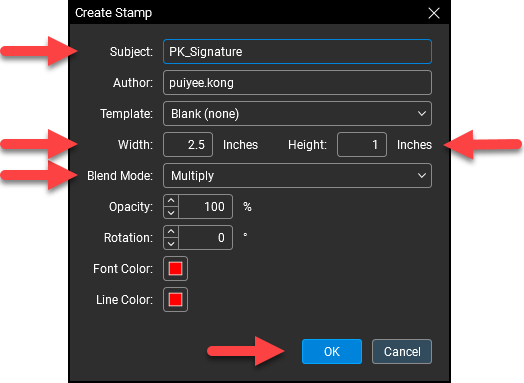
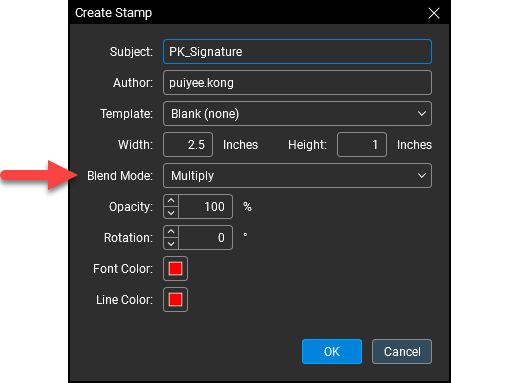
2.2.4. Enter the following information in the Create Stamp dialog box and hit OK when finished.
Subject: [Your Initials]_Signature
Author: This is automatically filled in, do not change.
Template: Blank (none)
Width: 2.5
Height: 1
Blend Mode: Multiply
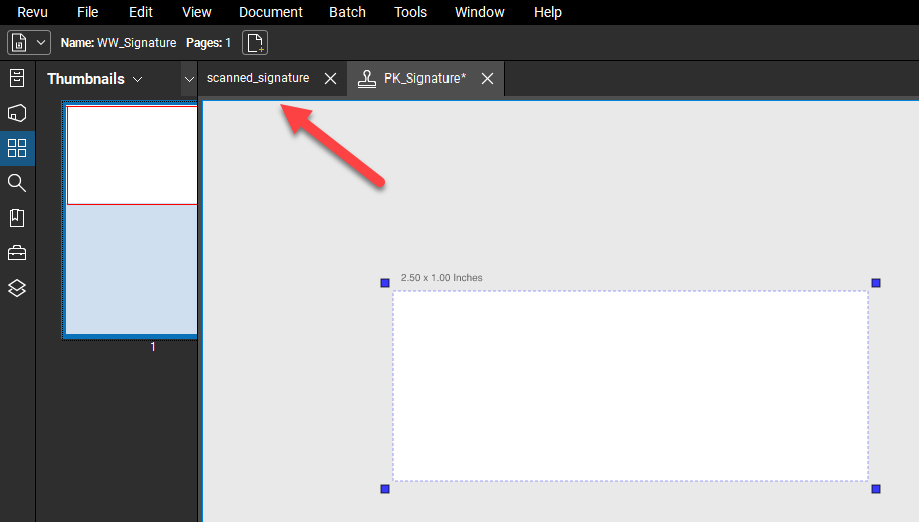
2.2.5. At the upper left corner of the screen, click on the tab for your scanned signature file.
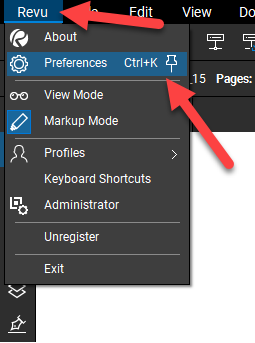
2.2.6. Navigate to the top left of the screen and select Revu > Preferences.
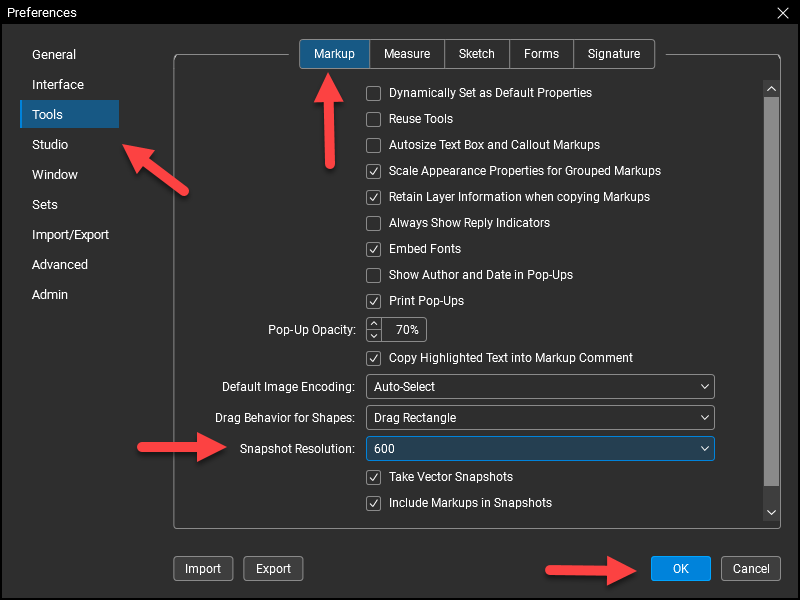
2.2.7. In the Preferences window, go to Tools > Markup > Snapshot Resolution and set it to 600. Click OK to save these settings.
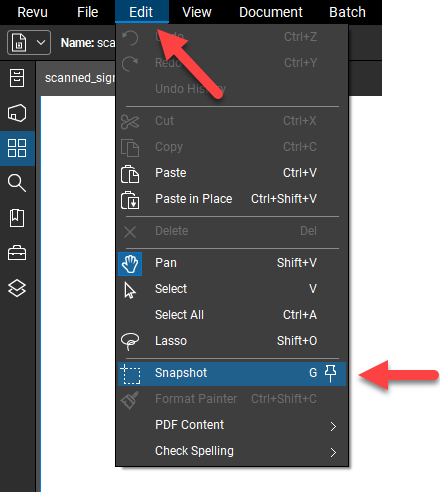
2.2.8. At the top left corner of the screen, click on Edit > Snapshot.
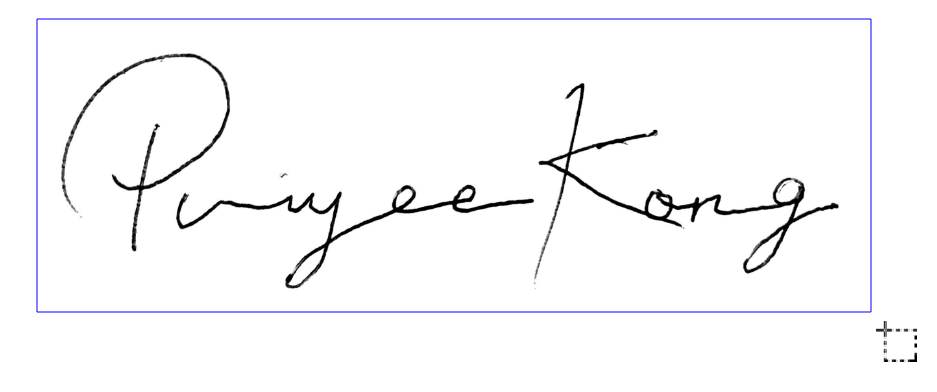
2.2.9. Click and drag from the top left corner of your signature to the bottom right, leaving space around the signature so as not to cut parts off.
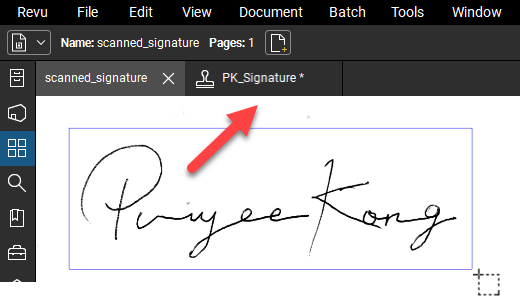
2.2.10. Switch over to your Signature tab at the top of your screen.
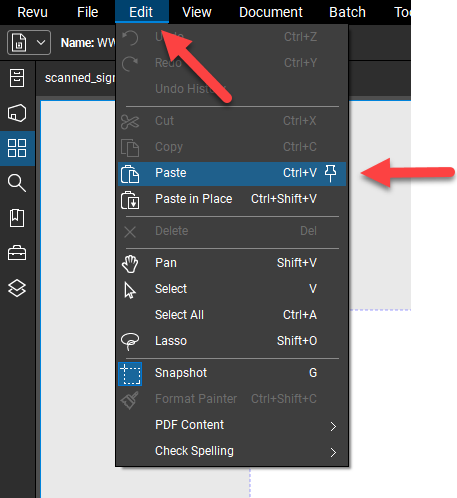
2.2.11. Navigate to the top left of the screen and go to Edit > Paste and drag to move your signature into position. ! You can use the arrow keys on your keyboard to fine tune the position.
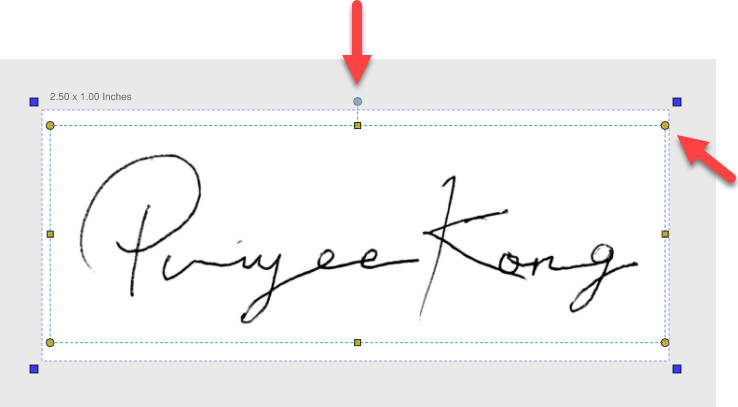
2.2.12. Feel free to use the yellow handles at the corners to scale your signature to fit or use the top blue handle to rotate your signature to be straight. ! By default it will rotate in increments of 5˚. Holding the Shift key will allow you to rotate in single degree increments.
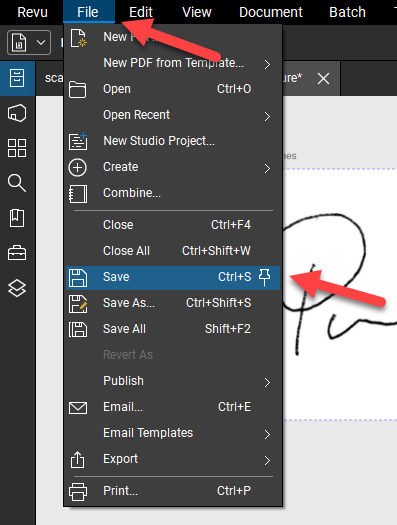
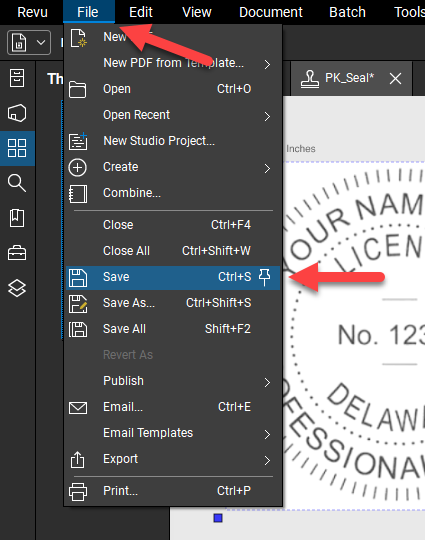
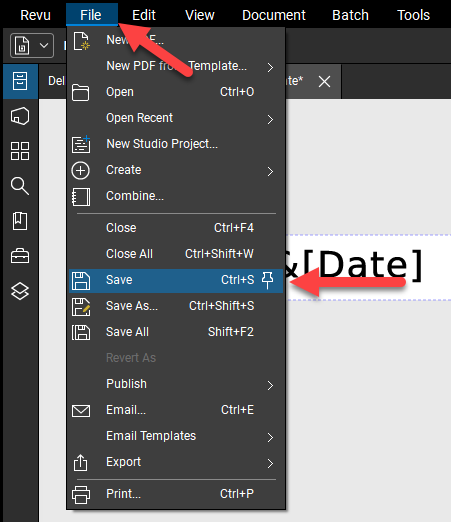
2.2.13. Navigate to File > Save to save your digital signature. See Section 6 on how to apply your digital signature stamp to PDFs.
3. Seal Stamps
3.1 Scanning your seal.
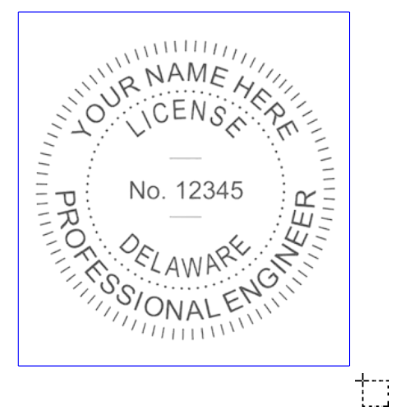
3.1.1. Stamp a piece of white paper clearly and carefully with your seal.
Note: If you already did this in the signature section, skip ahead to section 3.2.3.
3.1.2. Using a scanner, scan your seal at high resolution, ideally 600dpi, and email it to yourself as a PDF.

3.1.3. Download the PDF to your computer and name it appropriately (ex. “scanned_seal.pdf”).
3.2 Creating your digital seal.
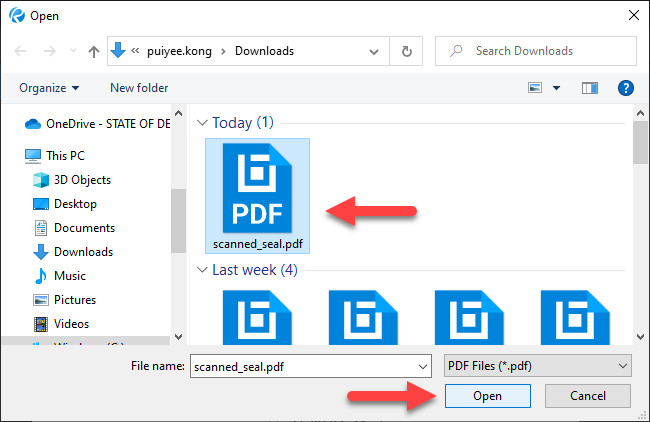
3.2.1. At the top left of the Bluebeam application, go to File > Open.
3.2.2. Select the PDF you downloaded in step 3.1.3. and hit Open.
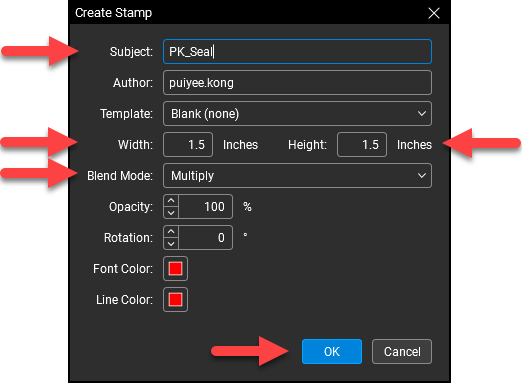
Subject: [Your Initials]_Seal
Author: This is automatically filled in, do not change.
Template: Blank (none)
Width: 1.5
Height: 1.5
Blend Mode: Multiply
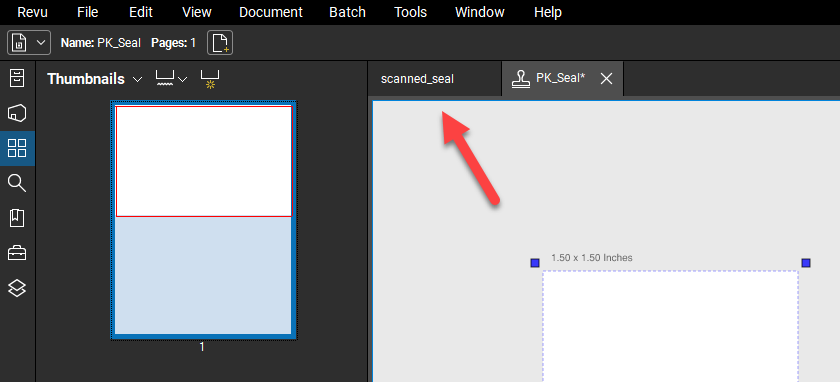
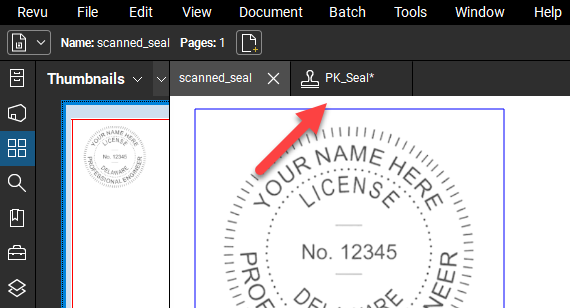
3.2.5. At the upper left corner of the screen, click on the tab for your scanned seal file.
3.2.6. Navigate to the top left of the screen and select Revu > Preferences. ! If you've already set your screenshot preferences for the signature in Step 2.2.6, skip ahead to Step 3.2.8.
3.2.7. In the Preferences window, go to Tools > Markup > Snapshot Resolution and set it to 600. Click OK to save these settings.
3.2.8. At the top left corner of the screen, click on Edit > Snapshot.
3.2.9. Click and drag from the top left corner of your seal to the bottom right, leaving space around the seal so as not to cut parts off.
3.2.10. Switch over to your Seal tab at the top of your screen.
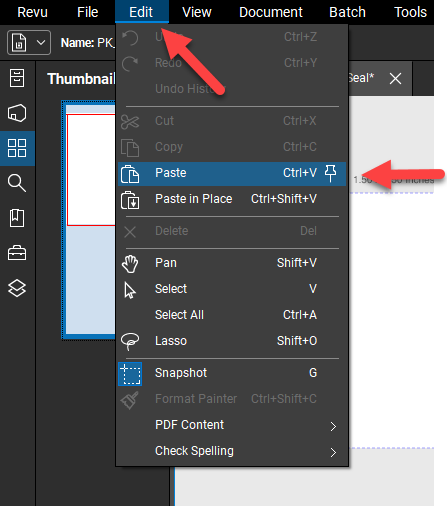
3.2.11. Navigate to the top left of the screen and go to Edit > Paste and drag to move your seal into position. ! You can use the arrow keys on your keyboard to fine tune the position.
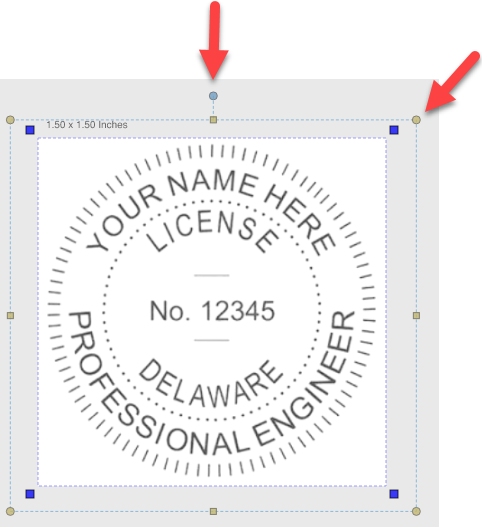
3.2.12. Feel free to use the yellow handles at the corners to scale your seal to fit or use the top blue handle to rotate your seal to be straight.
!
By default it will rotate in increments of 5˚. Holding the Shift key will allow you to rotate in single degree increments.
Note: The seal should be scaled as close to the edges as possible without going over. DelDOT follows size requirements from the licensing boards.
3.2.13. Navigate to File > Save to save your digital seal. See Section 6 on how to apply your digital seal stamp to PDFs.
4. Date Stamp
Note: This section is optional and is intended for those who want a separate Date Stamp.
4.1 Opening the Stamp Template Document.
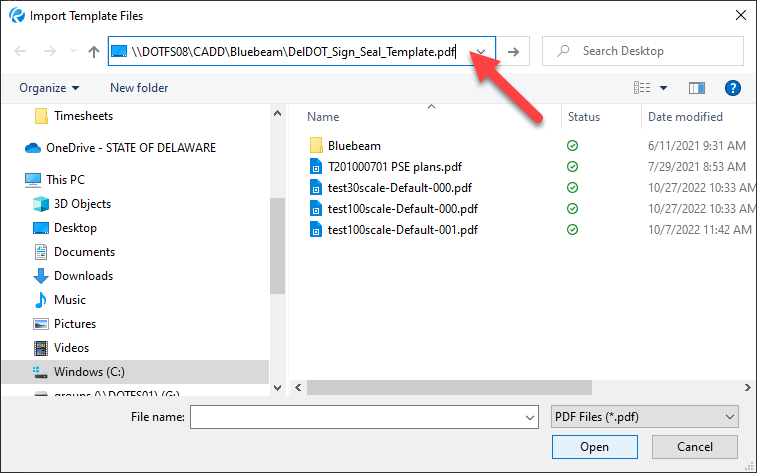
4.1.2. Paste the following link into the top address bar: \\DOTFS08\CADD\Bluebeam\DelDOT_Sign_Seal_Template.pdf and hit the Enter key.
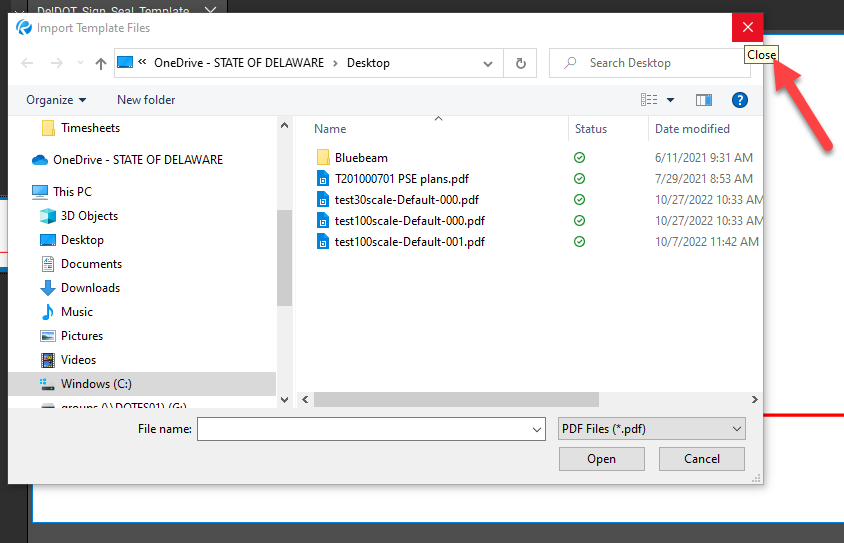
4.1.3. Close out of the file explorer window once the PDF document opens in the background.
4.2 Creating your date stamp.
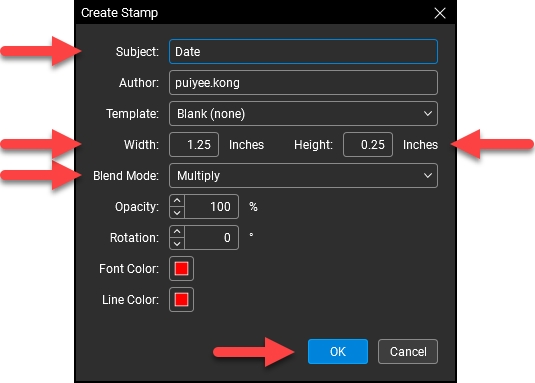
Subject: Date
Author: This is automatically filled in, do not change.
Template: Blank (none)
Width: 1.25
Height: 0.25
Blend Mode: Multiply
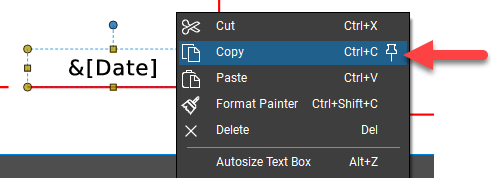
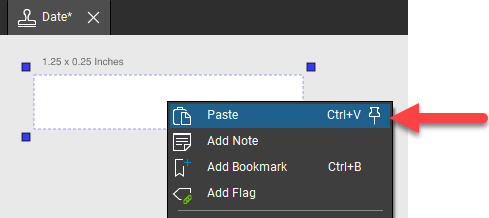
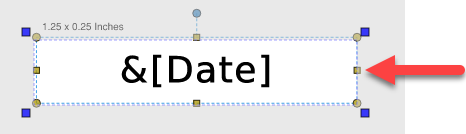
4.2.3. Right click into the stamp area and select Paste. ! Do not edit the "&[Date]", this will automatically fill in the current date when placed on a document.
5. Combination Stamp
The combination stamp allows the user to place a signature, date, and seal stamp all at once. The user must already have a signature and/or seal stamp saved (Sections 2 and 3) in order to follow these steps.
5.1 Opening the Stamp Template Document.
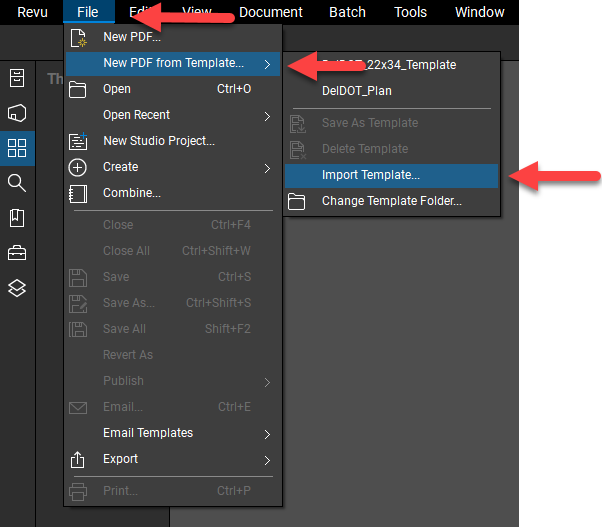
5.1.1. Navigate to the top left of your screen and select File > New PDF from Template… and select Import Template… at the bottom of the dropdown.
5.1.2. Paste the following link into the top address bar: \\DOTFS08\CADD\Bluebeam\DelDOT_Sign_Seal_Template.pdf and hit the Enter key.
5.1.3. Close out of the file explorer window once the PDF document opens in the background.
5.2 Signature and Date Combination Stamp.
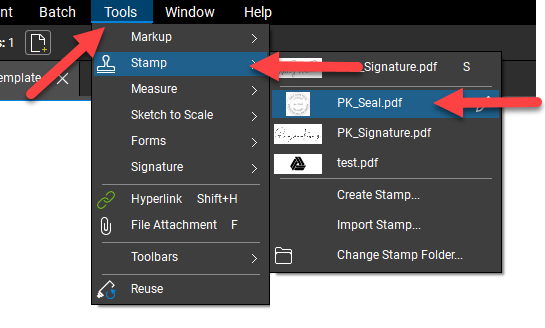
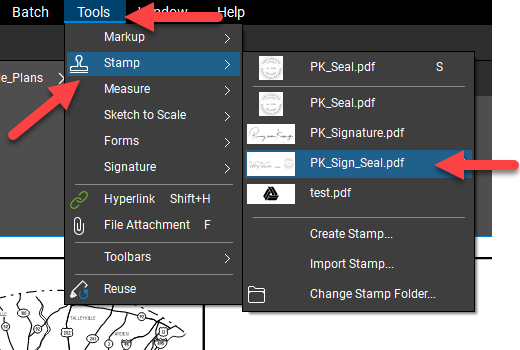
5.2.1. With the template document open in Bluebeam, navigate to the top of your screen and go to Tools > Stamp and pick your signature. ! If you cannot see your recently added stamps, click on Change Stamp Folder..., paste U:\Stamps into the top address bar, and hit Select Folder.

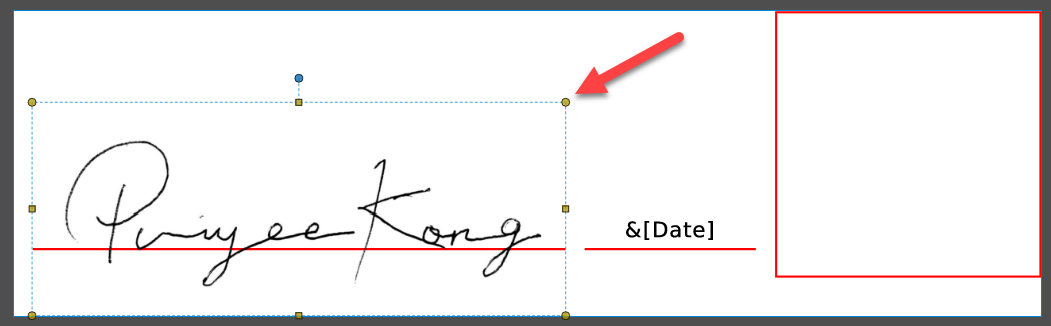
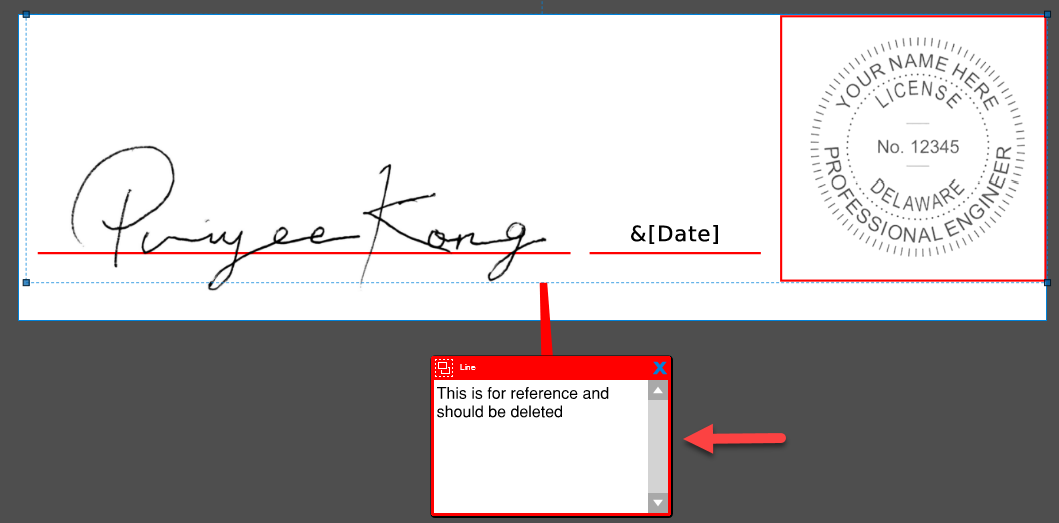
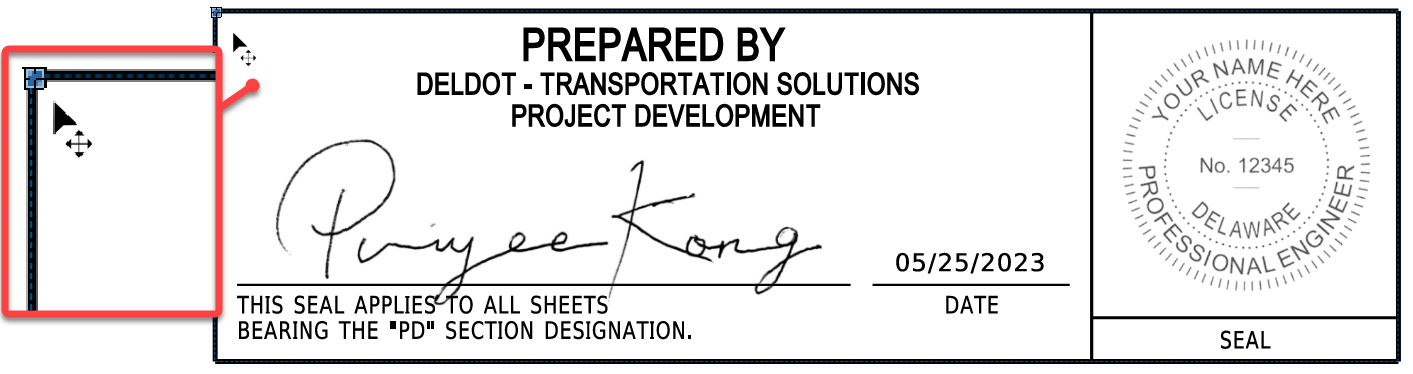
5.2.2. Click on the document to place your signature. Drag it into position on the red line and feel free to use the yellow handles at the corners to scale your signature if necessary. You can use the arrow keys on your keyboard to fine tune the position. ! Single click to place the stamp at the size it was set at. If you click and drag while placing, you can place it at a different size.
5.2.3. Navigate back to the top of your screen and go to Tools > Stamp, this time picking your seal from the dropdown.
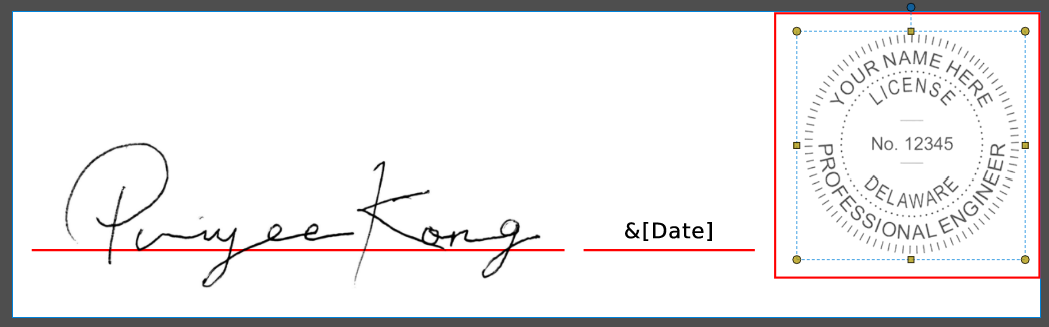
5.2.4. Click in the red box to place your seal. Drag it to adjust the position to be centered in the box. Do not scale your seal up or down. ! You can use the arrow keys on your keyboard to fine tune the position.
5.2.5. Click on the red note at the bottom of the document and hit the Delete key. This will completely remove the red reference lines.
Note: Hitting the “x” at the top left of the note simply removes the note, not the reference lines.
!
Do not edit the "&[Date]", this will automatically fill in the current date when placed on a document.
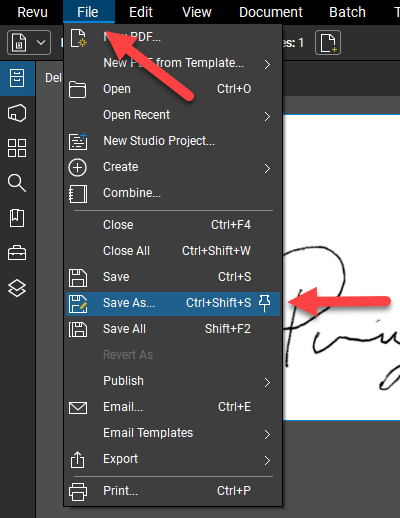
5.2.6. Navigate to File > Save As…
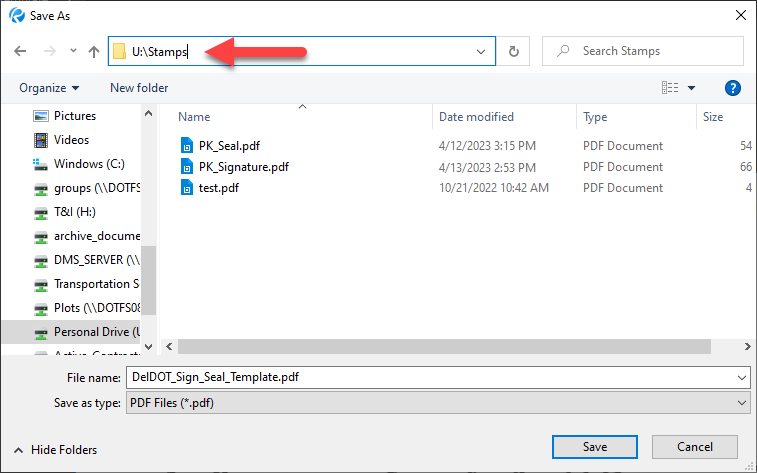
5.2.7. Paste U:\Stamps into the address bar at the top of the file explorer window and hit Enter to select your personal stamp folder. ! See section 1.2 on setting up your personal stamp folder.
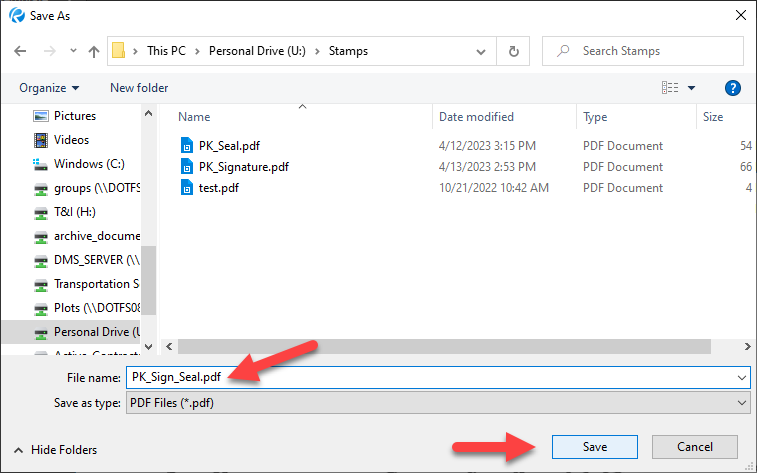
5.2.8. Save your stamp with your initials (ie PK_Sign_Seal.pdf). See Section 6 on how to apply your digital combination stamp to PDFs.
6. Stamp Application
6.1. Applying a stamp to a document.
6.1.1. Navigate to the top left corner of your screen and click File > Open.
6.1.2. Open the PDF you would like to stamp.

6.1.3. Go to Tools > Stamp and select the appropriate stamp. In this example, we will use a combination stamp, but all stamps work the same.
6.1.4. Click on the PDF to place the stamp. Drag the stamp to position it appropriately.
Important Note: You must flatten your stamp to ensure it cannot be stolen. Refer to the section below, Section 6.2, to flatten your stamp to the document properly.
!
If View > Snap to Content is selected, your stamp with snap into position based on the corner nearest to your cursor.
6.2. Flatten Document.
Flattening a document ensures that the elements on that document cannot be freely moved around or copied by another person. This is crucial to preventing others from having the ability to edit and steal your signature for use on another document.
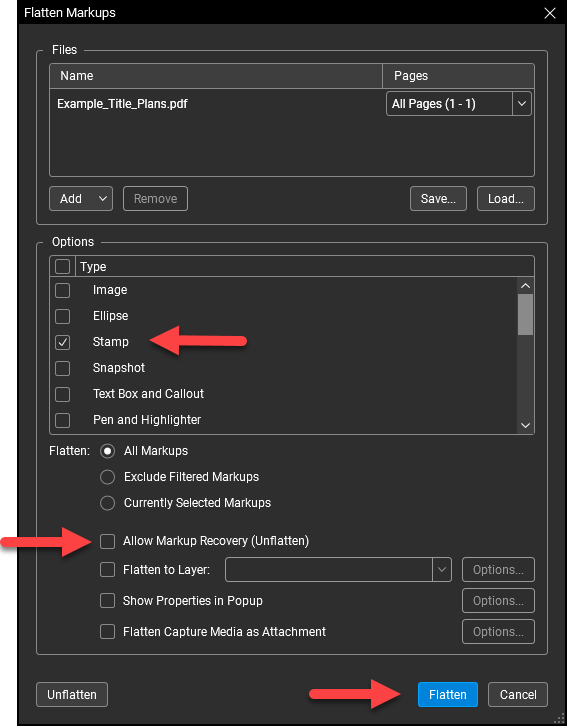
6.2.1. After the document has been stamped, go to Document > Flatten… at the top of your screen.
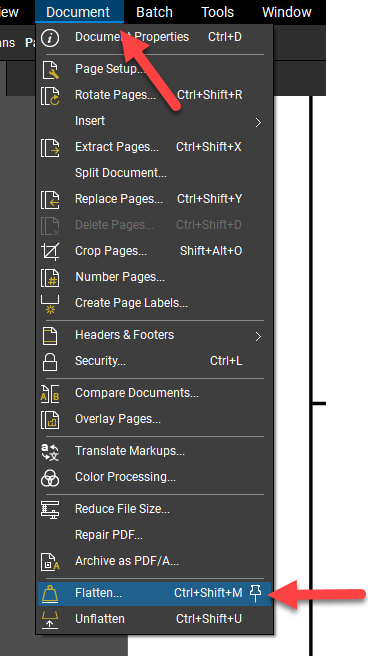
6.2.2. Check Stamp under Options. Make sure Allow Markup Recovery (Unflatten) is NOT checked. Hit Flatten. ! Do not use Right-Click > Flatten to flatten your document, as it will allow others to unflatten the PDF and modify or steal your signature.
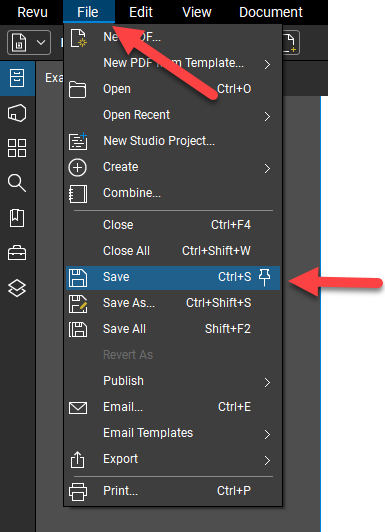
6.2.3. Save the file under File > Save.
7. Common Issues
7.1. White Background on Stamp.
7.1.1. If your signature or seal has a white background, you missed step 2.2.4. (signature), step 3.2.4. (seal), and/or step 4.2.4. (date) where you set the background mode to Multiply.
7.2. Can't Find my Saved Stamps.
7.2.1. If you don't see your stamps under Tools > Stamps, simply select Change Stamp Folder... at the bottom of the dropdown.
7.2.2. Double check that the folder address is U:\Stamps, and click Select Folder. This will manually reload your stamp folder.
7.2.3. Check under Tools > Stamps once again, and all your stamps should now appear.
7.2.4. If your stamps still aren't showing up, check that you saved your stamp in the correct Stamps folder on your Personal Drive (U:).
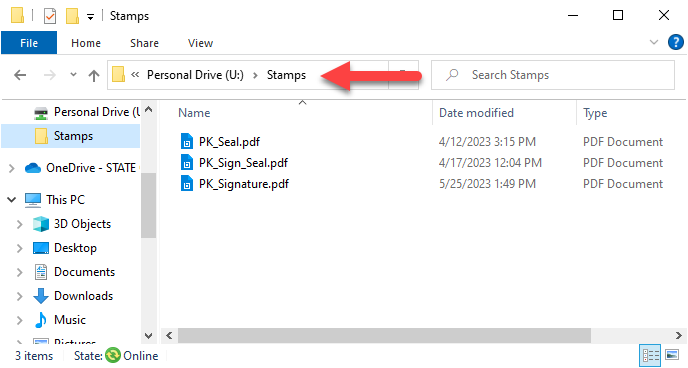
7.2.5. If your stamp was in the wrong location, simply drag it from its current location into the correct Personal Drive (U:) > Stamps folder.
